Hyundai Tucson: Engine And Transaxle Assembly / Engine And Transaxle Assembly

ŌĆó Be careful not to damage the parts located under the vehicle (floor under cover, fuel filter, fuel tank and canister) when raising the vehicle using the lift.(Refer to General Information - "Lift and Support Points")

ŌĆó Use fender covers to avoid damaging painted surfaces.
ŌĆó To avoid damage, unplug the wiring connectors carefully while holding the connector portion.

ŌĆó To avoid damage, unplug the wiring connectors carefully while holding the connector portion.
1.Remove the engine cover.(Refer to Engine And Transaxle Assembly - ŌĆ£Engine CoverŌĆØ)
2.Remove the air duct and air cleaner assembly.(Refer to Intake and Exhaust System - "Air Cleaner")
3.Remove the engine control module (ECM).(Refer to Engine Control/Fuel System - "Engine Control Module (ECM)")
4.Remove the battery and tray.(Refer to Engine Electrical System - "Battery")
5.Remove the engine room under cover.(Refer to Engine And Transaxle Assembly - ŌĆ£Engine Room Under CoverŌĆØ)
6.Drain the engine coolant.(Refer to Cooling System - "Coolant")
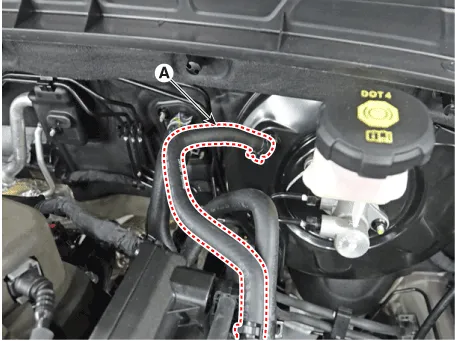
7.Disconnect the brake booster vacuum hose (A).
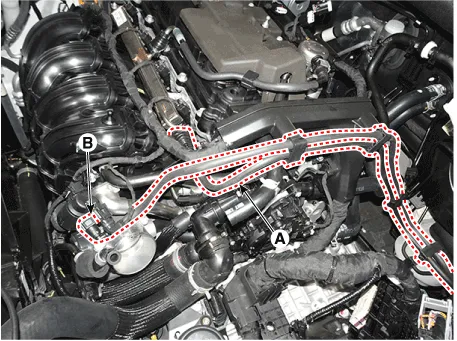
8.Disconnect the fuel hose (A) and the purge control solenoid valve (PCSV) hose (B).
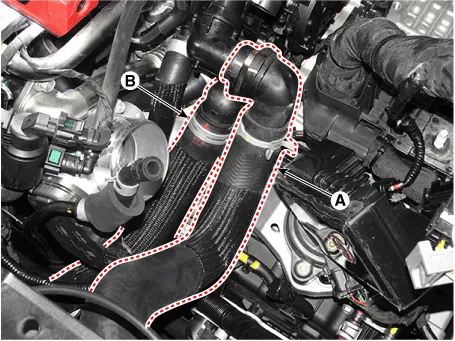
9.Disconnect the radiator upper hose (A) and lower hose (B).
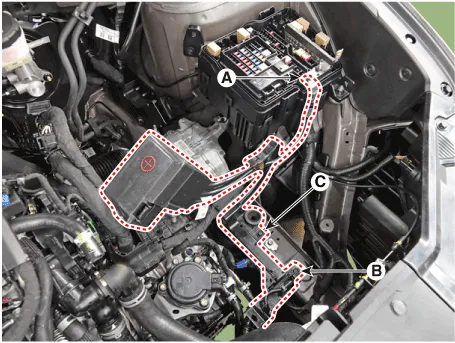
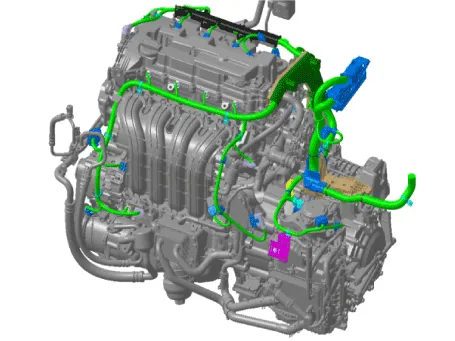
10.Remove the main wiring harness fromt the engine room.
(1)Disconnect the fuse box main wiring connector (A).
(2)Disconnect the main wiring protector and +wiring cable (B).
Tightening torque :10. 8 - 13.7 N.m (1.1 - 1.4 kgf.m, 8.0 - 10.1 lb-ft)
(3)Disconnect the ground cable (C).
Tightening torque : 10. 8 - 13.7 N.m (1.1 - 1.4 kgf.m, 8.0 - 10.1 lb-ft)
11.Disconnect the wiring harness from the engine room.
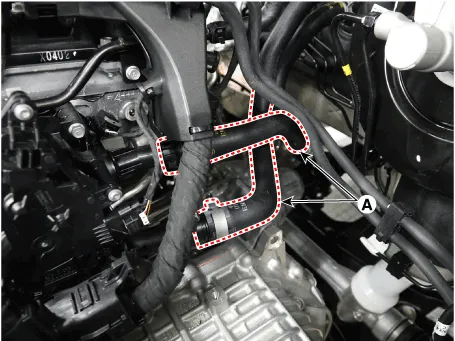
12.Disconnect the heater hose (A).
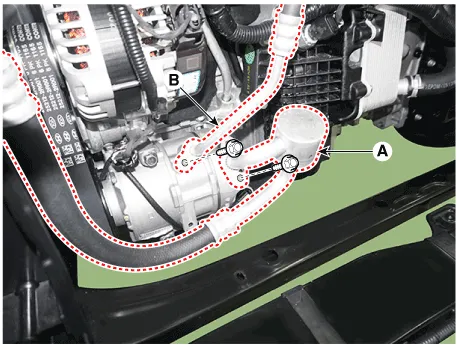
13.Recover the A/C refrigerant and then remove the A/C compressor high pressure pipe and low pressure pipe (A).(Refer to Heating, Ventilation Air Conditioning - "Compressor")
14.Remove the front muffler.(Refer to Intake and Exhaust System - "Muffler")
15.Remove the front propeller shaft assembly. [4WD Only](Refer to Driveshaft and axle - "Propeller Shaft Assembly")
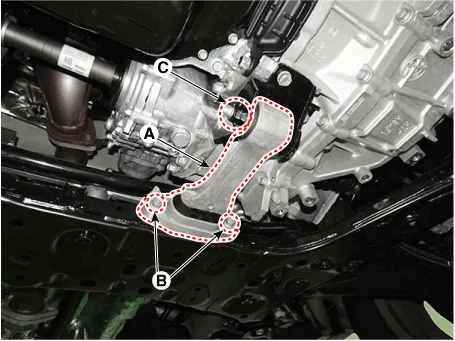
16.Remove the roll rod bracket (A).
Tightening torque :Bolt (B) : 49.0 - 63.7 N.m (5.0 - 6.5 kgf.m, 36.1 - 47.0 Ib.ft)Bolt (C) : 107.8 - 127.4 N.m (11.0 - 13.0 kgf.m, 79.5 - 94.0 Ib.ft)
17.Remove the roll rod mounting support bracket (A).
Tightening torque : 49.0 - 68.6 N.m (5.0 - 7.0 kgf.m, 36.1 - 50.6 Ib.ft)
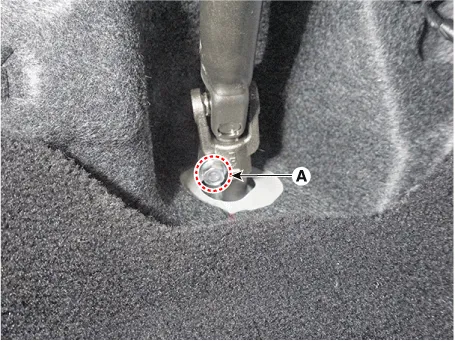
18.Separate the universal joint from the steering gear box after loosening the universal joint mounting bolt (A).
Tightening torque :53.9 - 58.8 N.m (5.5 - 6.0 kgf.m, 39.8 - 43.4 lb-ft)
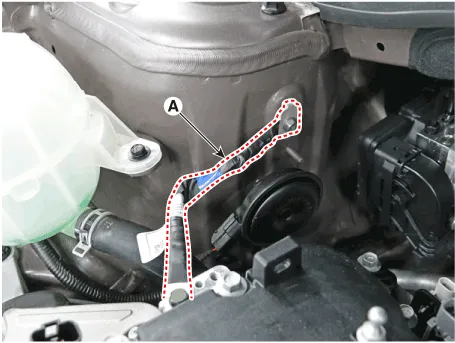
19.Disconnect the engine ground cable (A) from the body.
Tightening torque :10.7 - 13.7 N.m (1.1 - 1.4 kgf.m, 7.9 - 10.1 Ib.ft)
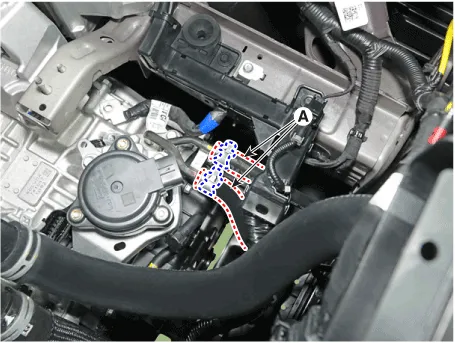
20.Disconnect the ATF cooler hose (A).
21.Disconnect the transaxle ground cable (A) from the body.
Tightening torque : 10.7 - 13.7 N.m (1.1 - 1.4 kgf.m, 7.9 - 10.1 Ib.ft)
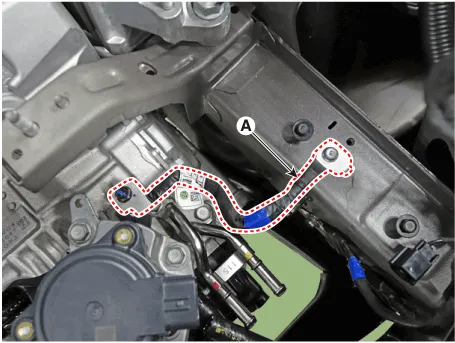
22.Disconnect the coolant hose (A).
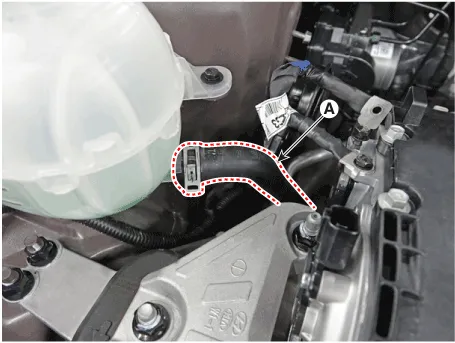
23.Remove the sub frame.(Refer to Suspension system - "Sub frame")
24.Support the engine and transaxle assembly with a floor jack.
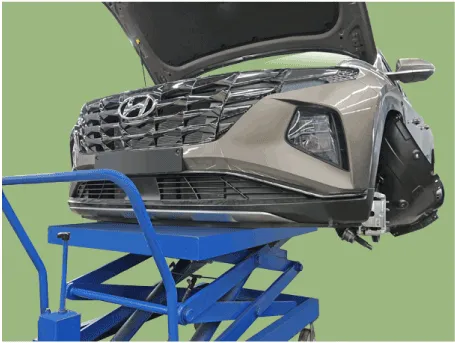
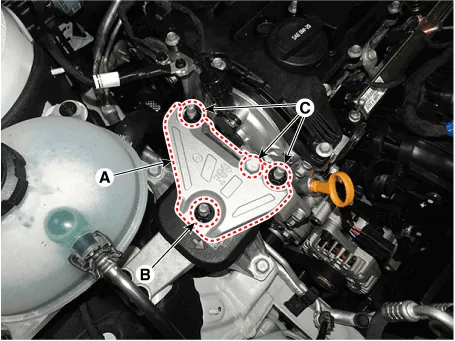
25.Remove the engine mounting suppoort bracket (A).
Tightening torque : Bolt, Nuts (B,C) : 88.2 - 107.8 N.m (9.0 - 11.0 kgf.m, 65.0 - 79.5 lb-ft)
26.Remove the LH front wheel guard.(Refer to Body(Interior and Exterior) - "Front Wheel Guard")
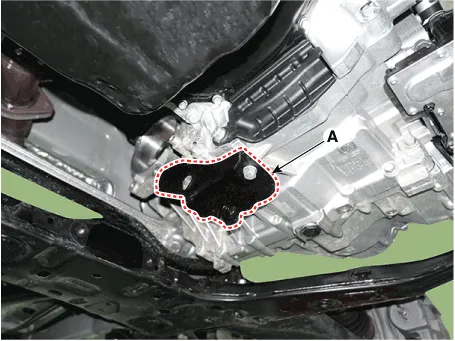
27.Remove the transaxle support bracket mounting bolts (A).
Tightening torque : 107.8 - 127.4 N.m (11.0 - 13.0 kgf.m, 79.5 - 94.0 Ib.ft)
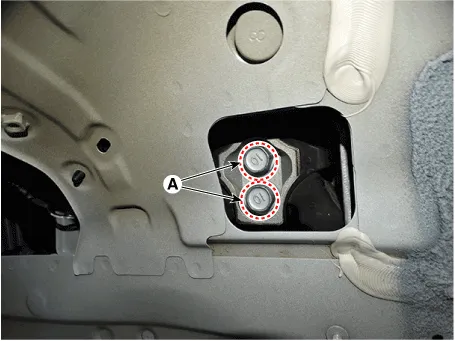
28.Remove the engine and transaxle assembly by lifting vehicle.


ŌĆó Before removing the engine and transaxle assembly, make sure hoses and wire connectors are disconnected.
ŌĆó When removing the engine and transaxle assembly, be careful not to damage any surrounding parts or body components.
29.Install in the reverse order of removal.

ŌĆó Refill a radiator and a reservoir tank with engine coolant.(Refer to Cooling System - "Coolant")
ŌĆó Check the engine oil level.If necessary, refill engine with engine oil
ŌĆó Check the transaxle oil level.If necessary, refill a transaxle with fluid.
ŌĆó Charging the refrigerant gas.Inspect for fuel leakage.
 Engine Mounting
- Components
1. Engine mounting support bracket2. Engine mounting bracket3. Transaxle mounting bracket4. Roll road bracket
- Removal and Installation
ŌĆó Be careful no ...
Other information:
Hyundai Tucson (NX4) 2022-2026 Service Manual: Side Impact Sensor (SIS)
- Description
1.The Side Impact Sensor (SIS) system consists of two kinds of side
impact sensor which are installed at each center of the front door
module (left and right) and two rear sensors which are installed in the
rear pillar (left and right). ŌĆó The Front Side Impact Sensor is also ...
Hyundai Tucson (NX4) 2022-2026 Service Manual: Start/Stop Button
- Component
- Removal
1.Disconnect the negative (-) battery terminal.
2.Remove the cluster fascia panel.(Refer to Body - "Cluster Fascia Panel")
3.Remove the front monitor.(Refer to AVN System - "Front Monitor")
4.Using a remover and remove the crash pad garnish [CTR].
5.Disconne ...

